
Most electrical panel upgrades don’t fail because the installer lacked skill.
They fail because one step in the chain was skipped.
A missing bonding detail.
An unverified permit.
A misunderstood service size.
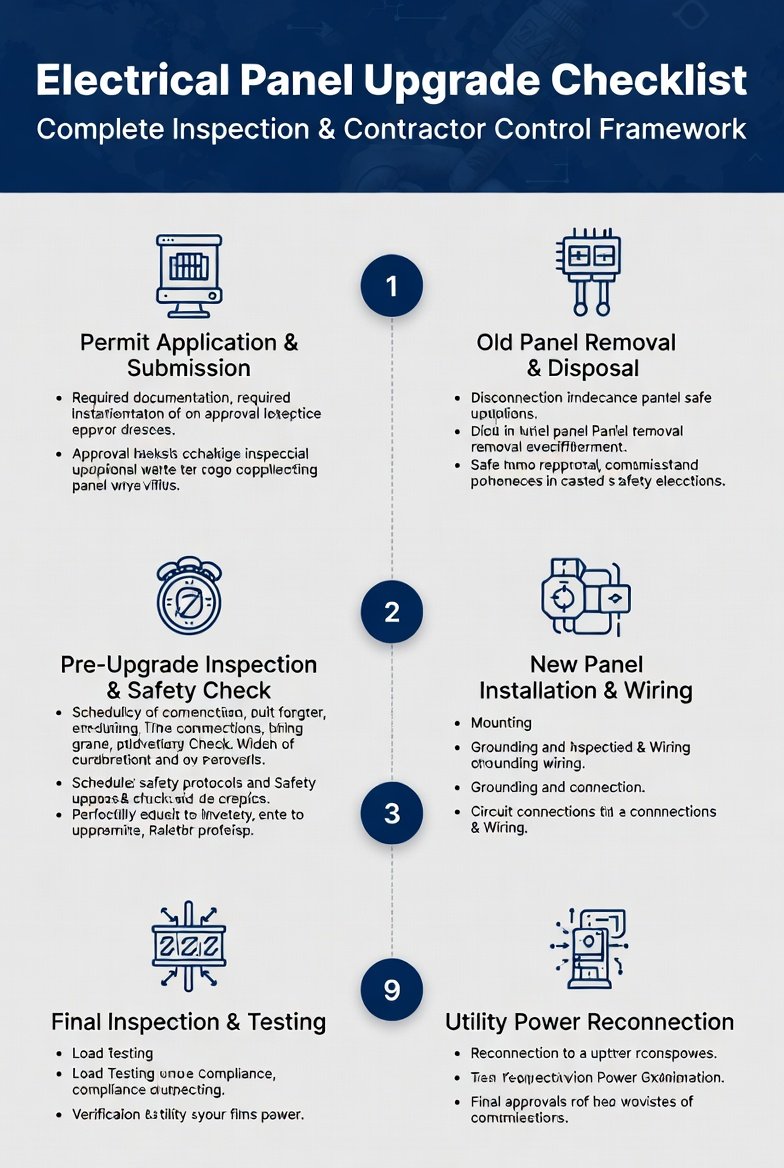
An electrical panel upgrade is not just equipment replacement. It is a compliance event involving the contractor, inspector, and utility.
This checklist is structured to control that entire chain.
Before You Schedule Anything
Before permits.
Before deposits.
Before shutdown planning.
Confirm:
- ☐ Current service amperage verified.
- ☐ Load calculation completed.
- ☐ Panel location compliant with working clearance.
- ☐ Future electrification plans reviewed (EV, heat pump, battery).
- ☐ Scope defined: panel swap vs service upgrade.
If cost is driving the decision:
Scope Escalation Triggers (Know These Early)
Your project escalates beyond a simple panel swap if:
- Service conductors are undersized.
- Meter base is outdated.
- Grounding electrode system is incomplete.
- Working clearance is noncompliant.
- Panel relocation becomes necessary.
- Electrification stacking increases load margin risk.
If electrification is planned, cross-check:
EV-Charger cost
Upgrade for heat pump
Escalation discovered mid-project extends timeline and cost.
Control it early.
Contractor Vetting Checklist
Before hiring:
- ☐ License verified.
- ☐ Insurance verified.
- ☐ Permit filing responsibility confirmed in writing.
- ☐ Scope document reviewed.
- ☐ Service size confirmation documented.
- ☐ Utility coordination responsibility clarified.
- ☐ Inspection attendance confirmed.
Electrical panel upgrade contractor checklist = compliance responsibility confirmation.
Pre-Permit Checklist
- ☐ Load calculation prepared.
- ☐ Grounding electrode system identified.
- ☐ Bonding method confirmed.
- ☐ Panel brand compatibility verified.
- ☐ Breaker listing compatibility confirmed.
- ☐ Clearance requirements validated.
- ☐ Meter base condition evaluated.
Permit clarity reduces rejection risk.
For permit sequence review:
Permit guide
Install-Day Compliance Checklist
- ☐ Utility disconnect coordinated (if service upgrade).
- ☐ All circuits transferred correctly.
- ☐ Neutral-ground bonding verified (main vs subpanel).
- ☐ No double-lug neutrals.
- ☐ Breakers listed and compatible.
- ☐ Panel directory completed.
- ☐ Working clearance unobstructed.
- ☐ Torque verified per manufacturer guidance.
- ☐ Grounding electrode continuity confirmed.
Inspectors rarely fail panels for speed.
They fail them for bonding and termination errors.
Red Tag Prevention Checklist
|
Red Tag Trigger |
Prevention Check |
|
Double-lug neutrals |
Verify one conductor per neutral terminal |
|
Missing bonding screw |
Confirm main bonding jumper installed correctly |
|
Inadequate working space |
Maintain 30” width and 36” depth clearance |
|
Mixed breaker brands |
Use listed breakers only |
|
Missing directory |
Complete circuit labeling |
|
Loose terminations |
Verify torque |
|
Improper conductor sizing |
Validate ampacity before install |
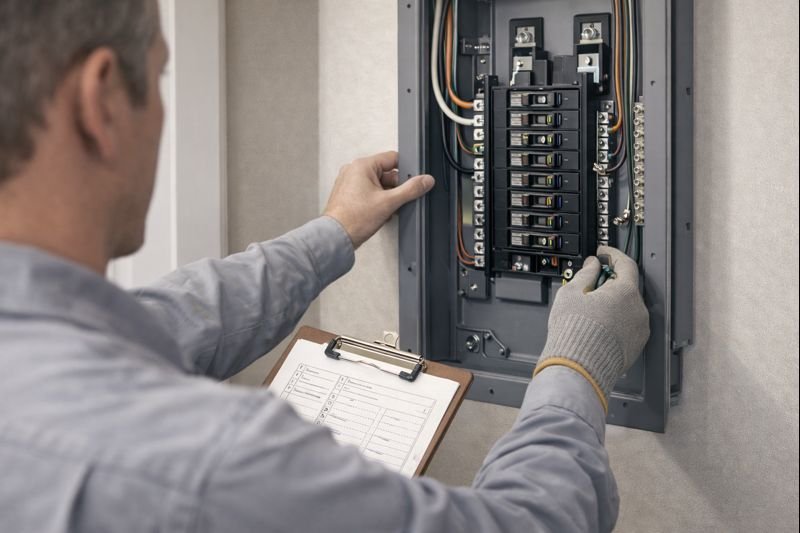
Inspection Day Checklist
Before inspector arrives:
- ☐ Panel fully enclosed.
- ☐ Directory legible.
- ☐ Permit visible.
- ☐ Grounding accessible.
- ☐ No exposed conductors.
- ☐ Clearance maintained.
Inspection pass → Release → Utility reconnect.
Reconnect does not occur without approval.
For timeline sequencing:
electrical panel upgrade
Utility Coordination Checklist
Especially for service upgrades:
- ☐ Disconnect time confirmed.
- ☐ Reconnect window confirmed.
- ☐ Inspection timing aligned.
- ☐ After-hours reconnect policy clarified.
- ☐ Friday installation risk considered.
Utility scheduling often determines total outage window.
Post-Upgrade Verification Checklist
After power is restored:
- ☐ All circuits energized properly.
- ☐ Breaker directory verified.
- ☐ Inspection sticker applied.
- ☐ Permit officially closed.
- ☐ Photos of panel interior stored.
- ☐ Warranty documentation retained.
- ☐ Insurance notification completed if required.
- ☐ Utility service upgrade confirmation retained (if applicable).
This protects resale and underwriting.
Responsibility Split Matrix
Task | Homeowner | Contractor |
Load review | Confirm need | Perform calc |
Permit | Confirm filed | Submit |
Install | Provide access | Execute |
Inspection | Be available | Ensure compliance |
Utility | Confirm outage | Coordinate disconnect |
Documentation | Store records | Provide records |
Clarity prevents conflict.
Master Printable Summary
Before Scheduling
- Service size confirmed
- Load calc completed
- Future loads considered
Before Install
- Permit issued
- Scope confirmed
- Utility scheduled
Before Inspection
- Bonding verified
- Directory complete
- Clearance maintained
Before Reconnect
- Inspection passed
- Release transmitted
- Utility window confirmed
Control the sequence.
Control the outcome.
Final Verdict
An electrical panel upgrade succeeds when:
- Scope is confirmed before permits.
- Compliance details are verified before install.
- Inspection preparation is deliberate.
- Utility coordination is clarified in advance.
The checklist is not optional.
It is the control mechanism.